
I have a soft-spot for Japanese animation. In my late teens, one of the series I was following was Neon Genesis Evagelion and some 20 years ago, I came across a resin figure kit of one of its characters. I could not resist making that purchase, adding it to my ever increasing collection of kits to be built. I started it a couple of years later, but as a modeller without any experience with this type of kit, it was just the start of a long (and intermittent) journey.
This figure was the first kit of this type I’ve ever built (and so far, the only one) and as one does when faced with a new challenge, you look for help online! At the time, Youtube was in its infancy, so video tutorials were not a thing! To the rescue came a wonderful website (the work of a fellow modeller, half a planet away), with a tutorial for such type of kit, using the same exact kit I had in my hands. Codyscoop is still online, but many of its tutorials are somewhat broken (the images and photos do not load), which is a shame as these were my helping hand, teaching me the usual approaches used to build and paint these kits. Another source of tips that I find helpful is a video tutorial from Adam Savage’s Tested Youtube channel, that you can watch here:
As with many other scale modeling projects, the initial impetus was soon replaced by a solemn feeling of ineptitude (pushing the model to the shelf where kits go while they wait for some attention). The model progressed very slowly, on and off for many years, mainly just focusing on getting all the parts to fit properly (as the plan was to paint them separately in sub-assemblies, following the recommendations of the tutorial I was following). Epoxy putty, files and sand paper were my most valuable tools. A very important tip that I picked up was to pin all the parts (i.e. to insert a metal rod between all the parts to be glued, in pre-drilled holes). This is not mandatory, but as some of the parts are quite heavy and most super-glues (cyanoacrylate) are quite brittle, having the metal rod support most of the load, results in a very robust union.
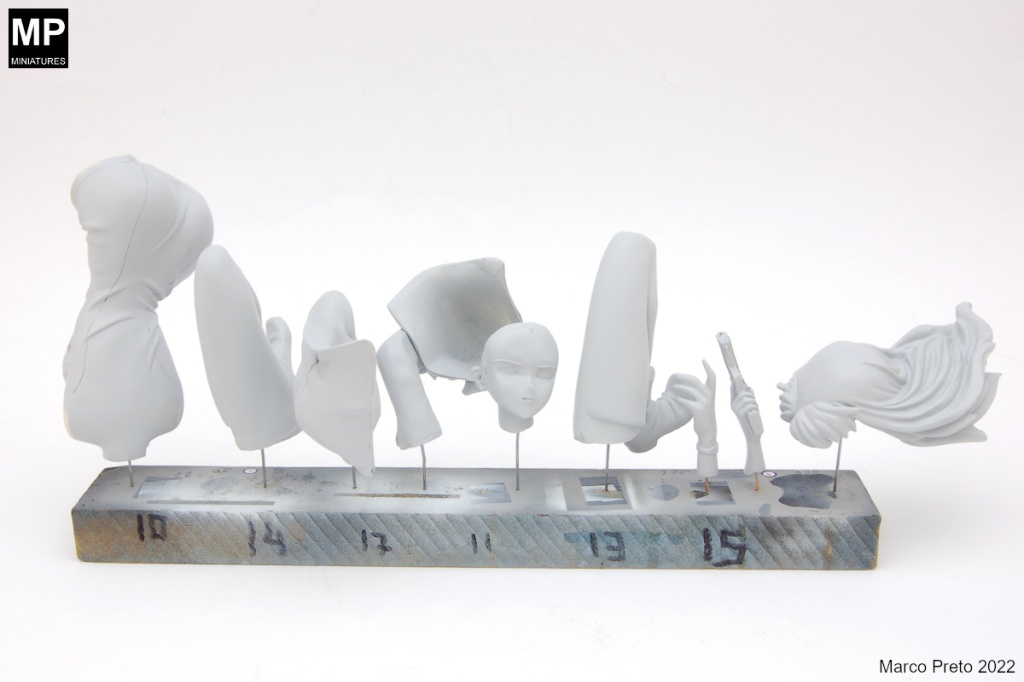
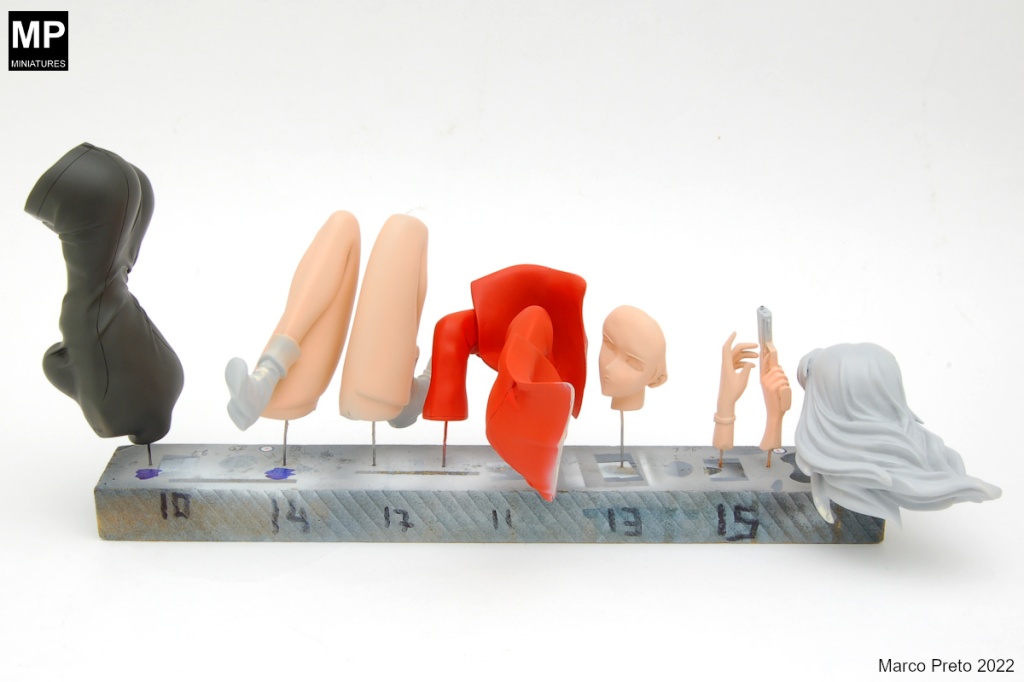
For more than a decade, the model had little to no progress (it was mostly cleaned from the resin pour plug material, repaired of most surface imperfections and built into sub-assemblies), until I came across a Sci-Fi/Fantasy themed group-build organized by a Facebook group (SCALE MODEL MAYHEM!!). It was just the push I needed to dust out the kit’s parts and complete it. So after washing all parts, and fixing a few remaining surface imperfections (a nice filler primer can be invaluable in preparing the surface for paint application), colors could be applied. I’ve used Vallejo Model Air range for most of the paint work, as this range is easily available where I live and their paints airbrush beautifully well (I usually thin them considerably, with their Airbrush Thinner and add a small amount of their “Flow Improver”).
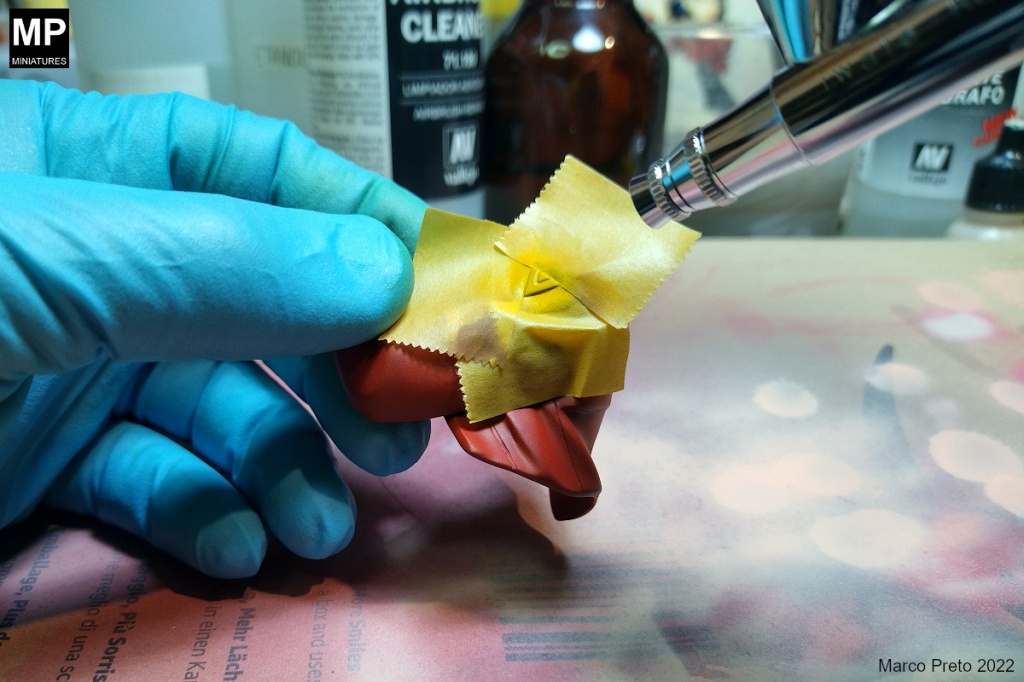
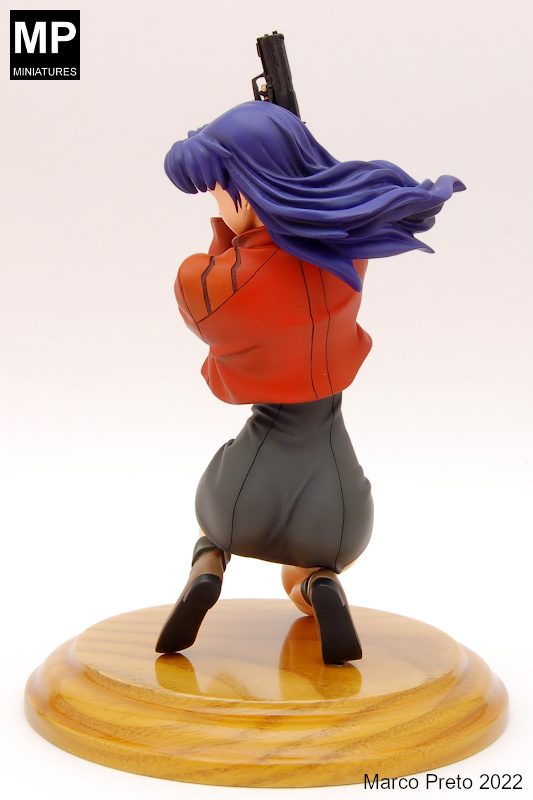
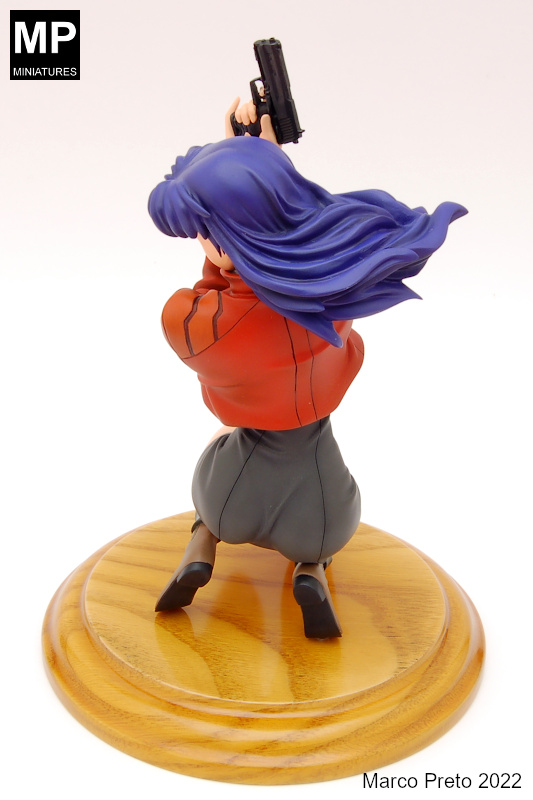
The great advantage of keeping the model in sub-assemblies during the painting process is the easiness of masking and general paint application, which for instance, made trivial the addition of shadows to Misato’s dress, using diluted flat black paint.
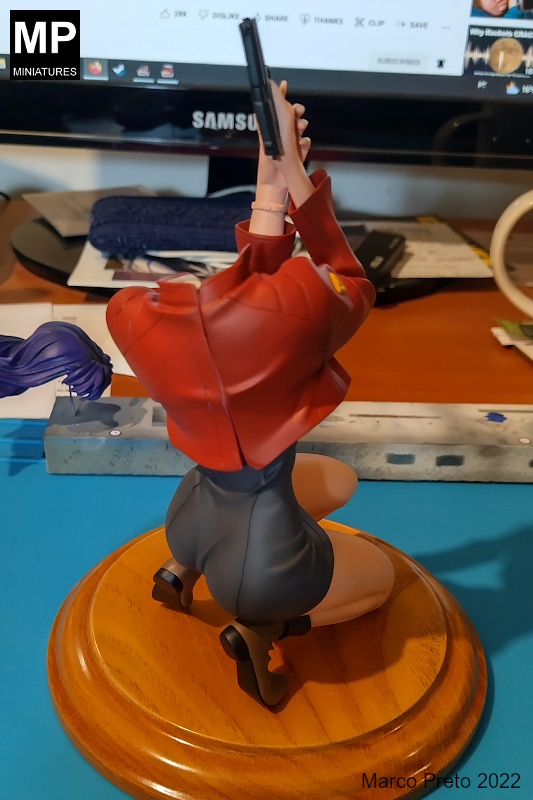
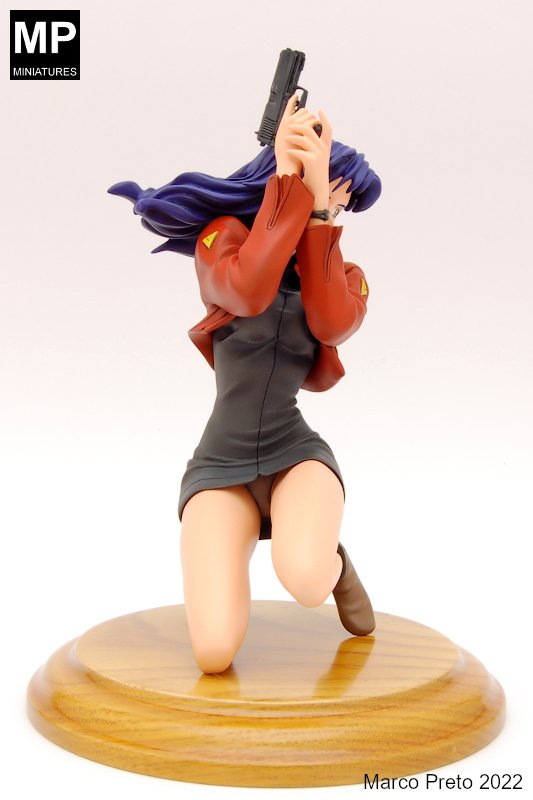
With several sub-assemblies ready, these could then be put together, taking care not to damage the paint work already done and fixing any issue that results from any not perfect fit between parts.
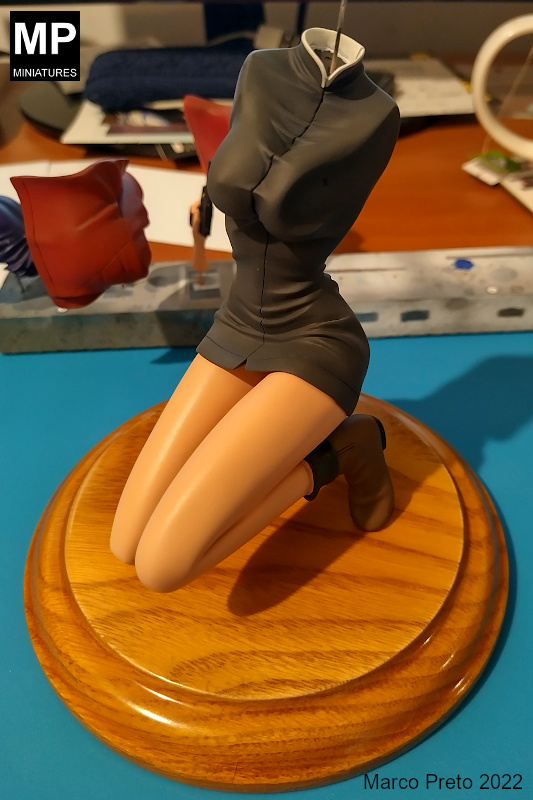
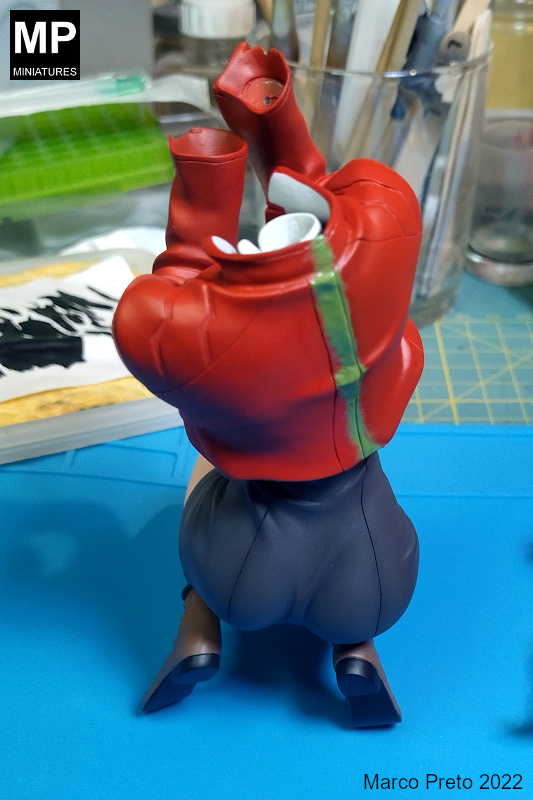
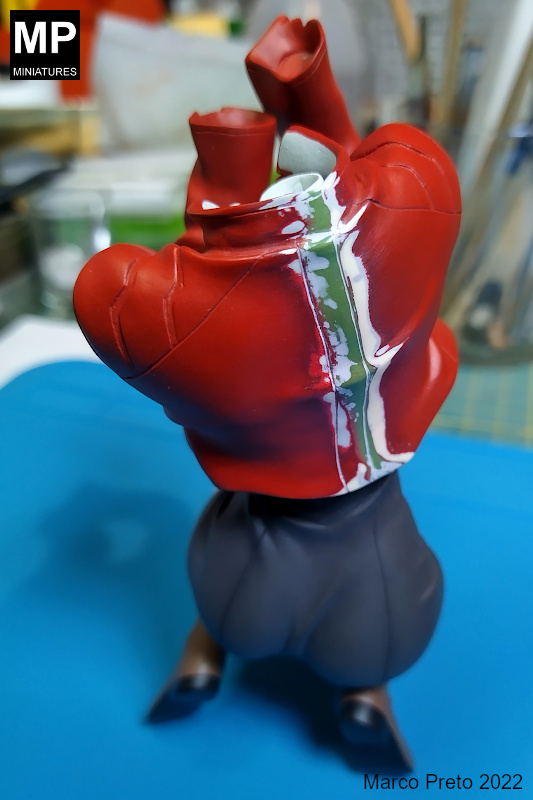
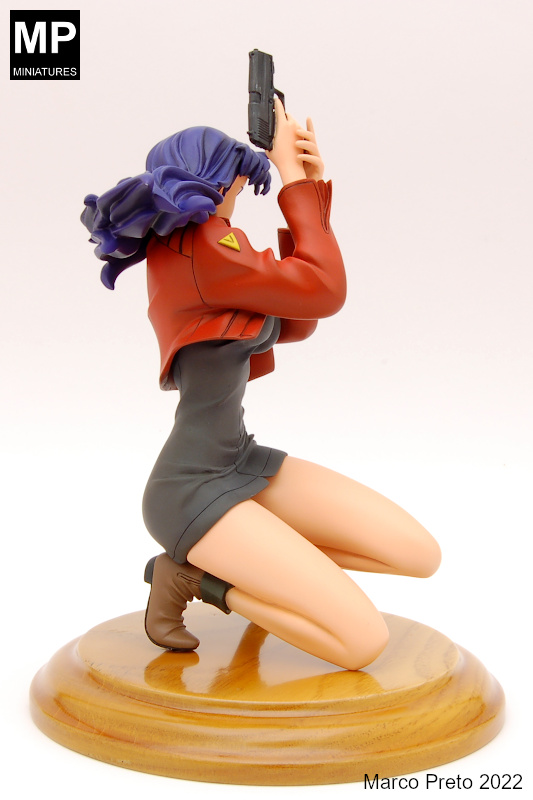
With several painted sub-assemblies, I could start putting them together and the major challenge was Misato’s jacket, as it was composed by two different sub-assemblies that did not perfectly match at their union.

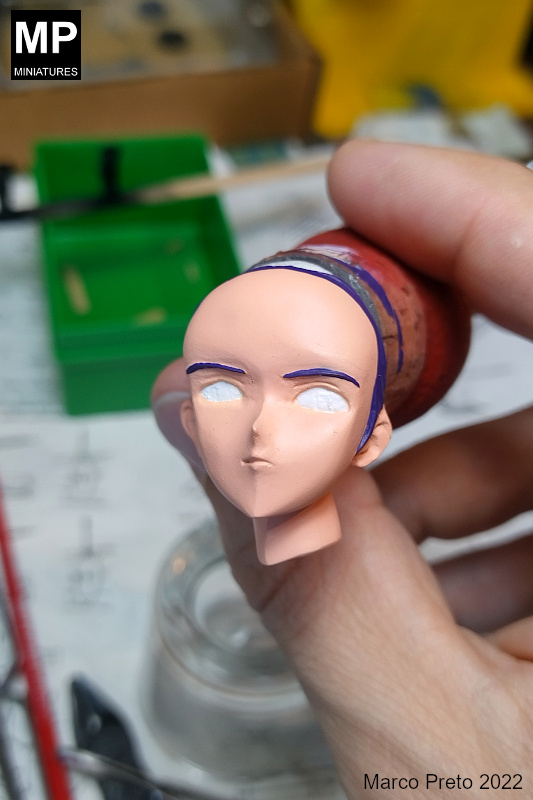
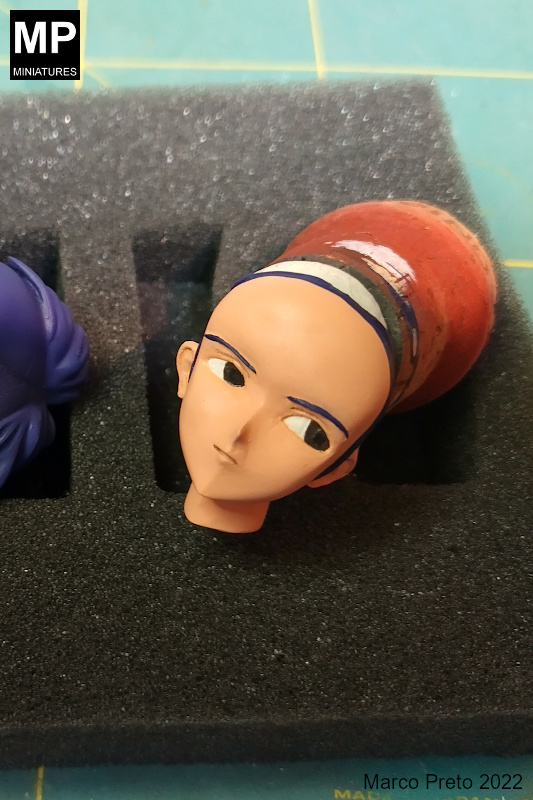
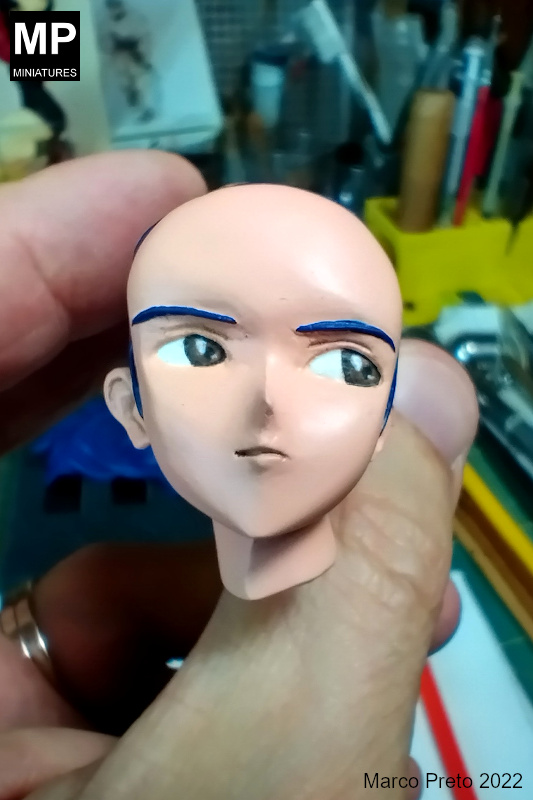
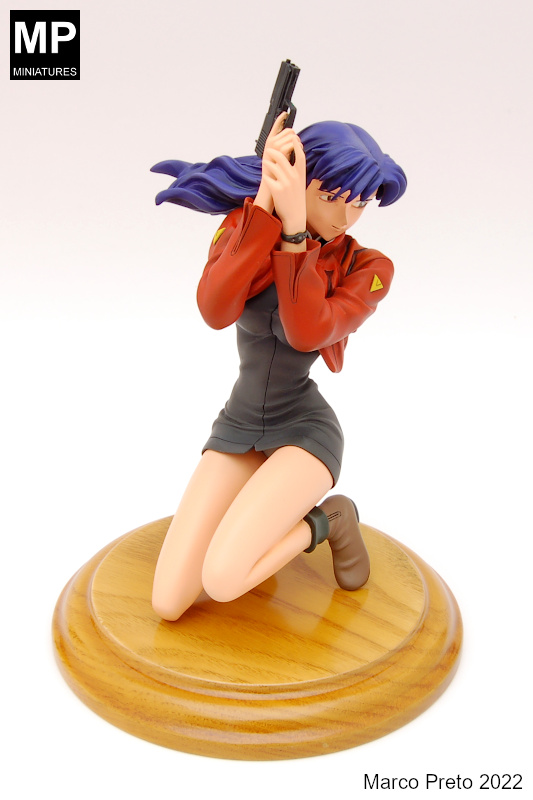
Another challenge faced during this project were Misato’s eyes. These were brush painted, also using Vallejo’s Model Air range, trying to replicate the way the animators add glow and reflexes to the character’s eyes.
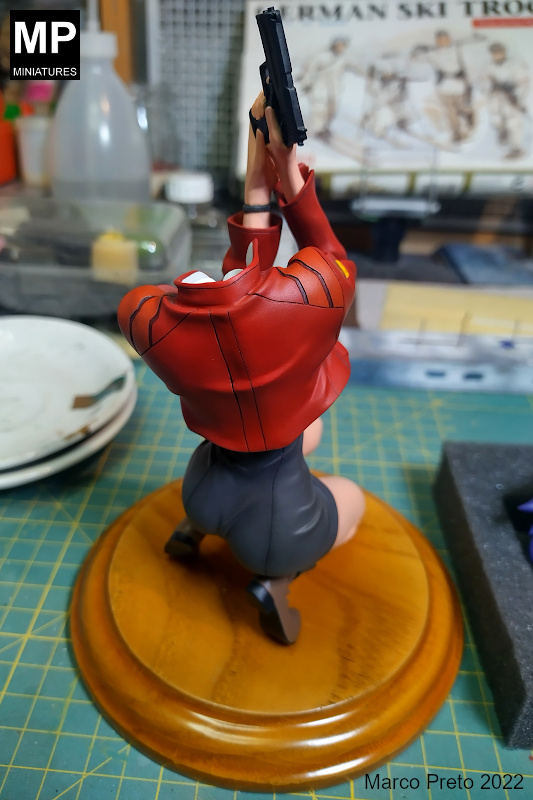
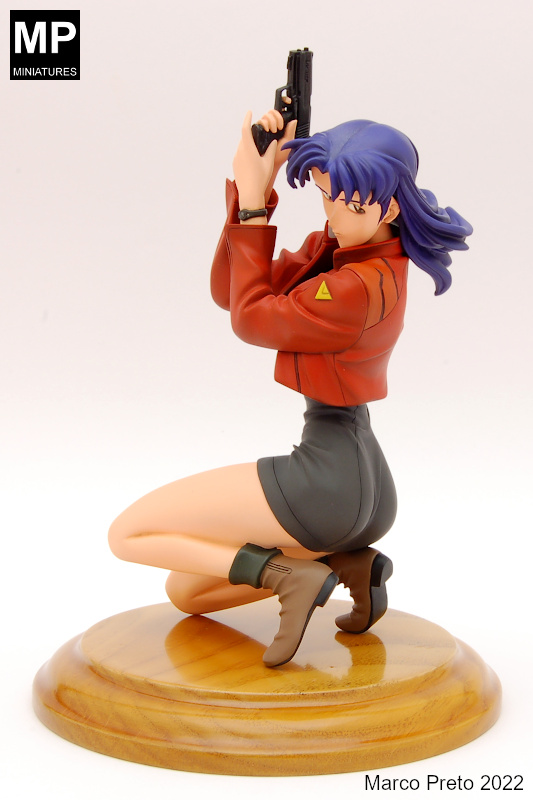
After putting everything together, minor touch ups completed the model. Don’t be afraid to try different types of model kits, as you will learn a lot from it. The worse that can happen is ending up with something that you consider under-par, but you can also be pleasantly surprised with the result! Just chose something that interests you and enjoy it.

I’ve read the post, and I’ve examined the inspiring photos. It’s not only your assembling and painting capabilities; it’s your approach (I assume this approach is expressed in other areas of life as well. Sorry, I’m sentimental).
A true artist you are, Marco, in a league of your own. BTW, the smaller the scale, the more obvious are your gifts.
LikeLiked by 1 person